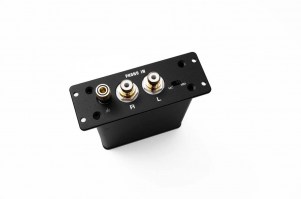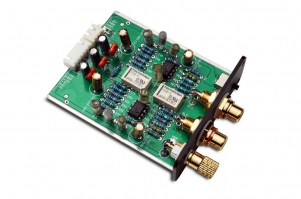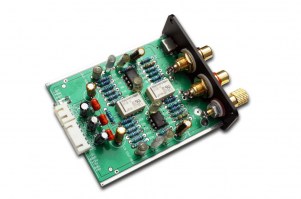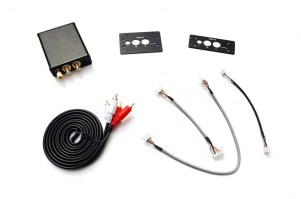
EX PHONO-3X Phono card
Finitions :

| Datasheet | Manual | Press |

The site AVCESAR.COM presente l'EX PHONO-3X. Read the article in PDF.
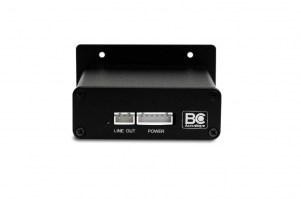
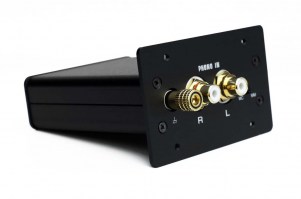
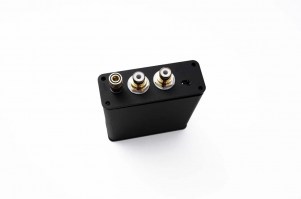
The optional EX-PHONO-3X module is a dedicated pre amplifier that will allow you to connect your turntable to your BC components. It is compatible with MM (Moving Magnet) and MC (Moving Coil) cartridges. The EX-PHONO-3X use very high performance electronic components and a high level of manufacturing quality.
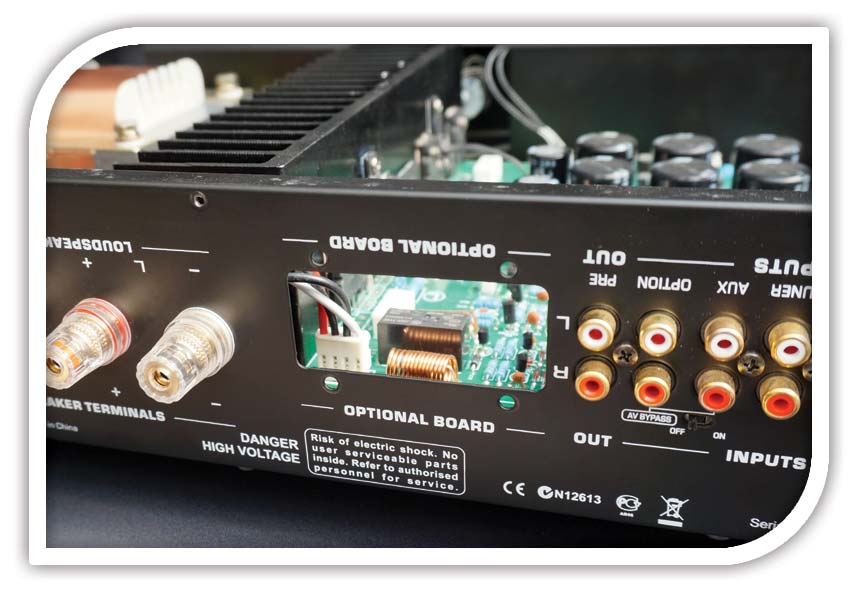
The EX-PHONO-3X module is dedicated to be used with BC Acoustique EX products equipped with an "OPTIONAL BOARD" slot.
The EX-PHONO-3X is compatible with: EX312 - EX322 - EX332 - EX362 - EX888 - EX322.1 - EX888.1.
HIGHLIGHTS
- Input Selector MM & MC
- RIAA standards
SPECIFICATIONS
Type: Preamplifier Phono MM/MC
Gain: MM: 39 dB, MC : 59 dB
Input Impedance: MM 47 kOhms, MC 200 Ohms
Output Impedance < 250 Ohms
Frequency response according to RIAA
Signal-to-Noise Ratio MM > 76 dB, MC > 65 dB
Total Harmonic Distortions < 0.05 %
- Product:
Dimensions (WxHxD): 72x26x100mm
Weight: 0.14 Kg
- Packet:
Dimensions (WxHxD): 160x70x115mm
Weight: 0.205 kg
Volume: 0.001 m3
Finitions : 
Inside the packaging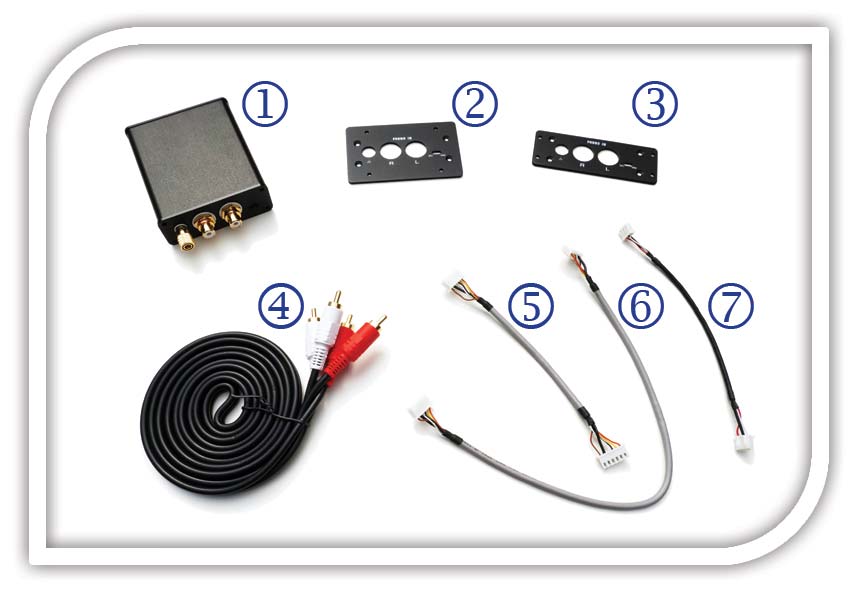
① 1x EX PHONO card with its 4 Phillips screws
② 1x Large metal plate
-> Fit for amplifiers EX322, EX888 specs
③ 1x Small metal plate
-> Fit for amplifiers EX332D specs
④ 1x Stereo RCA cable
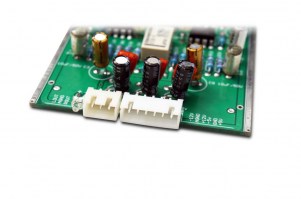
⑤ 1x 6 pin MOLEX cable - Short / POWER
-> For EX332D type amplifiers
⑥ 1x 6 pin MOLEX cable - Long / POWER
-> For EX322 type amplifiers
⑦ 1x 3 pin cable / LINE OUT
1x Manual
------------------------------------- I N S T A L L I N G O F T H E E X - P H O N O - 3X C A R D -----------------------------------------------
IMPORTANTE SECURITY INSTRUCTIONS
Before starting the installation of the EX PHONO-3X card, make sure that your amplifier EX Series is powered off AND disconnected from the wall power cord. Warning, never operate inside the product if the power cord is connected.
You will only reconnect the power outlet once all the installation has been completed, including the installation of the PHONO card, but also have put back the cover of amplifier as on the first day.
All other internal operations apart the one described in this manual about optional module installation, must be done by a qualified technician. We invite you to contact our accredited service stations if your product has been chocked, exposed to moisture or humidity or if any parts has been introduce inside the product. Internal fuses replacement is also an operation which should be done by accredited technician.
When you operate inside the amplifier (open hood and power cord disconnected), make sure you do not have your hands wet and do not drop anything inside.
INSTALLING OF THE CARD
Tools needed: Philips 2 screwdriver.
IMPORTANT ! PLEASE FOLLOW THESE STEPS IN THE ORDER INDICATED.
1 Preparation of the amplifier
1.1- Turn off the amplifier (POWER)
1.1.2- Remove the power cord from the amplifier.
1.1.3- To operate inside the amplifier, unscrew the cabinet of the dedicated plate witch is located on the bottom of the product (depending on the model of your amplifier).
About L'EX322: Remove cover
About l’EX888: Carefully turn the product over to the back and remove the chassis (the plate underneath the product).
About l’EX888.1: Carefully turn the product over on the back and remove the hatch from below.
IMPORTANT: Position the metal plate you just unscrewed (8 screws on the plate plus 2 on the on / off switch) as shown in the picture below so as not to desolder the cable connecting the GROUND switch (on / off).
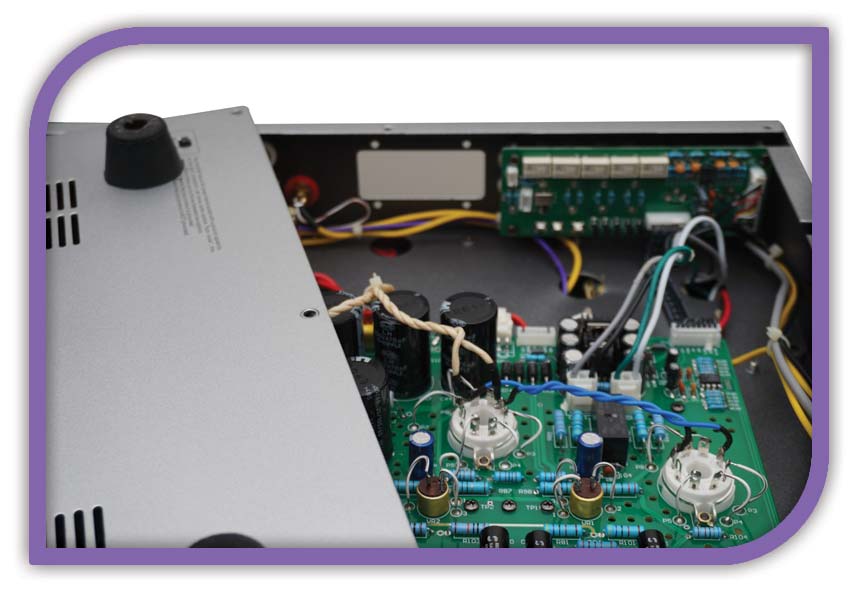
About l'EX332D: Carefully turn the product over on the back and remove the hatch from below.
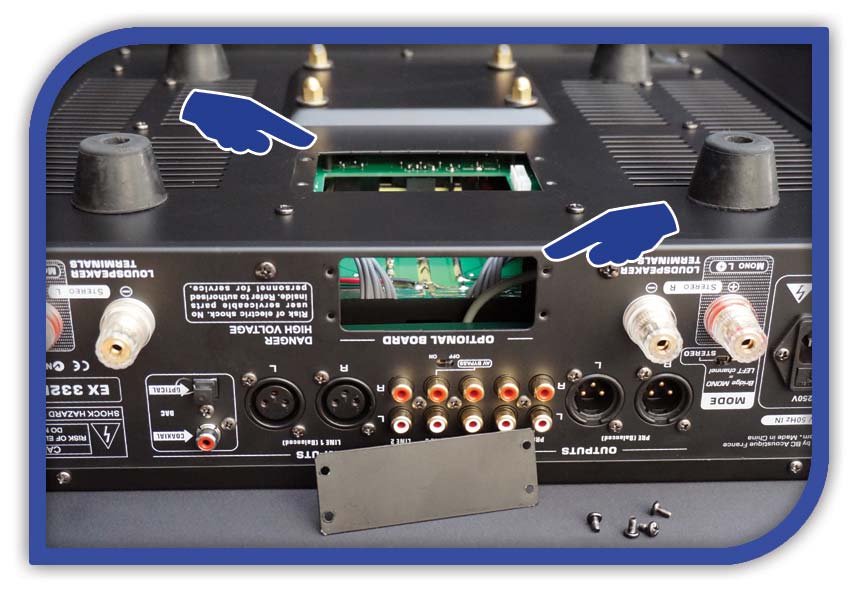
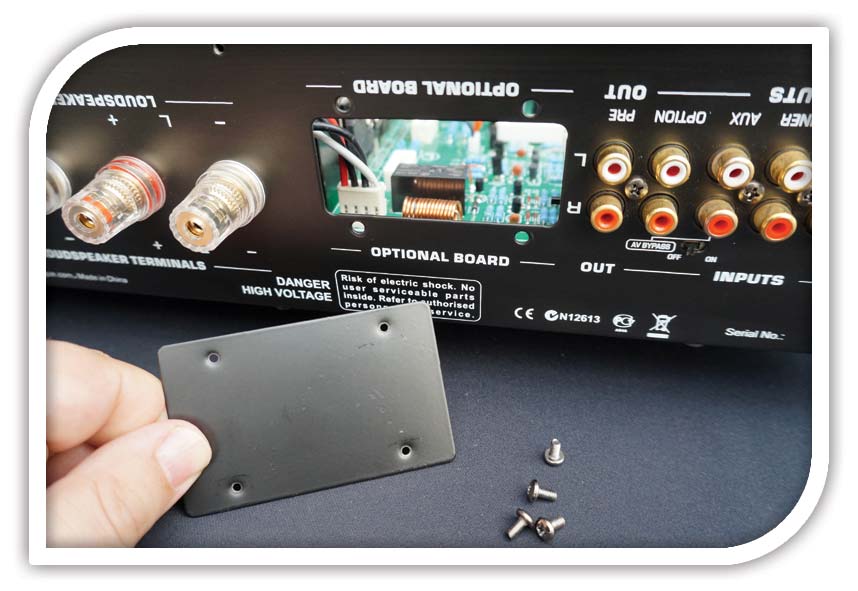
1.1.4- Remove the metal plate on the read side.
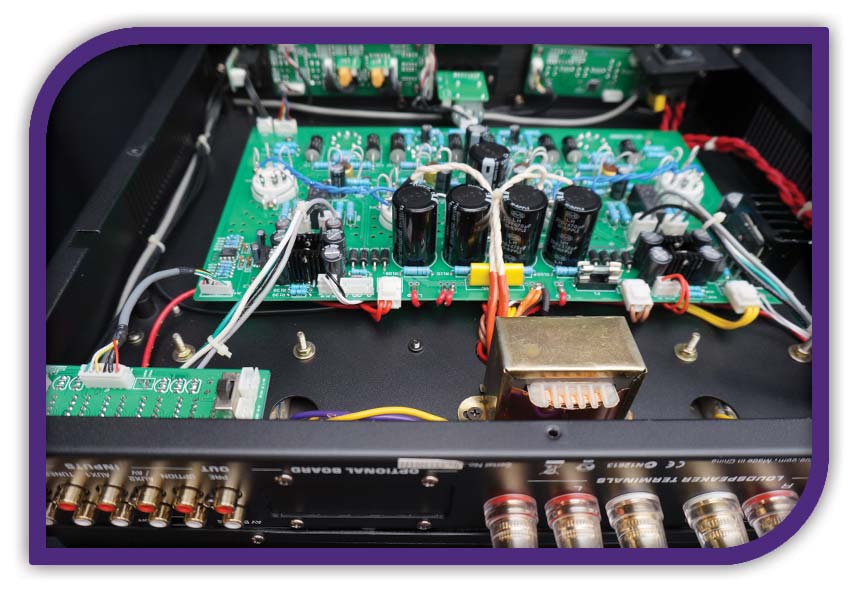
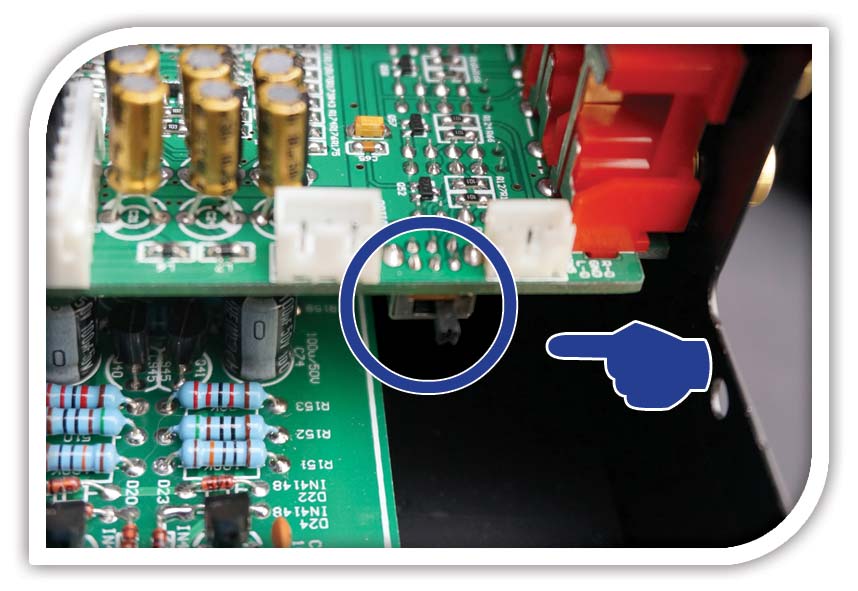
1.1.5- IMPORTANT: Activate the switch located in the amplifier that is intended to use the EX PHONO-3X CARD. When shipped from the factory, this switch is set to the Outside to activate the RCA OPTION stereo input.
About EX322D: Located very close to the hole that will accommodate your EX PHONO CARD, on the edge of the printed circuit board is a small black switch. This selector lets you choose to listen to either the EX PHONO-3X card, or the OPTION input located on the back of the amp. To be able to listen to the sound of your VINYL PLATINUM with your new EX PHONO-3X card, you have to position this selector inwards, that is to the left.
Move the switch of sources to the left.
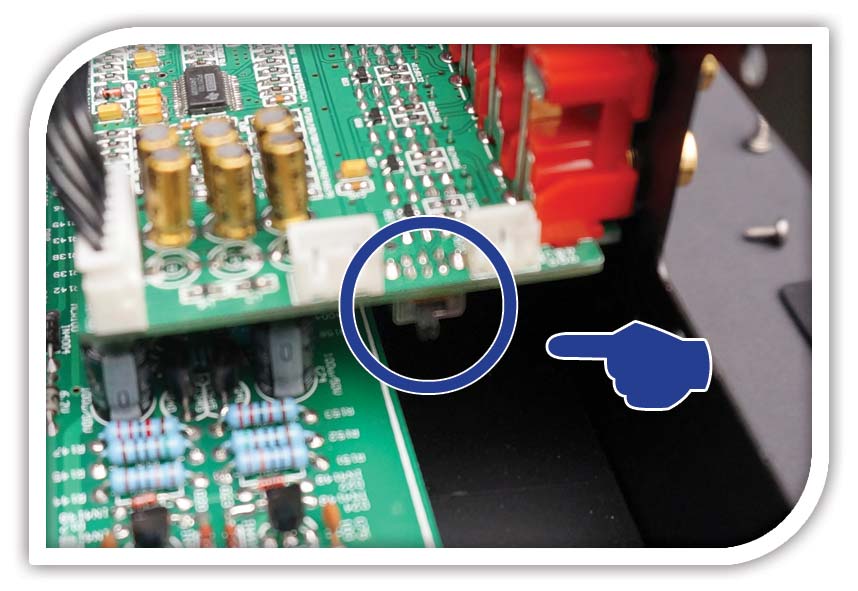
BEFORE AFTER
About l’EX888: Move the cursor to the inside of the amplifier to activate the input of your new EX PHONO-3X card.
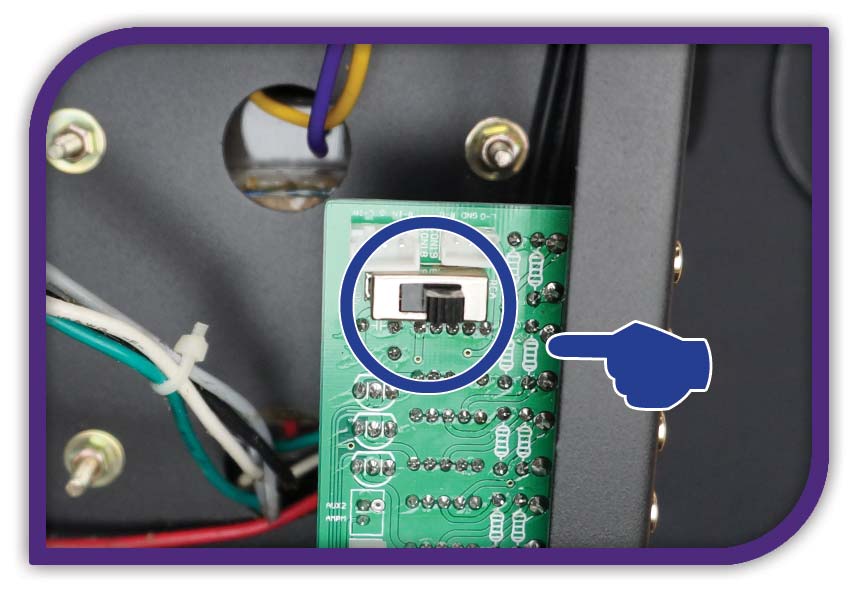
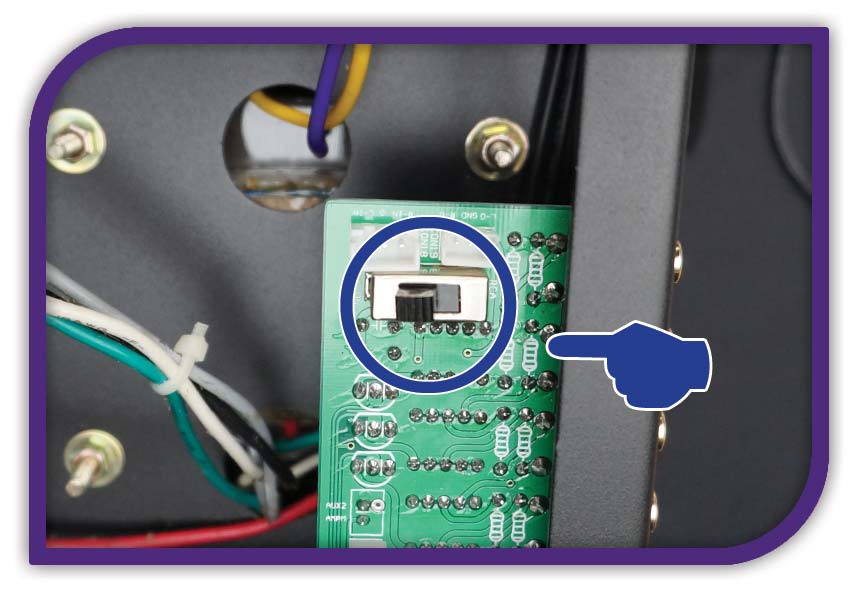
BEFORE AFTER
About l’EX888.1: Move the cursor to the inside of the amplifier to activate the input of your new EX PHONO-3X card.
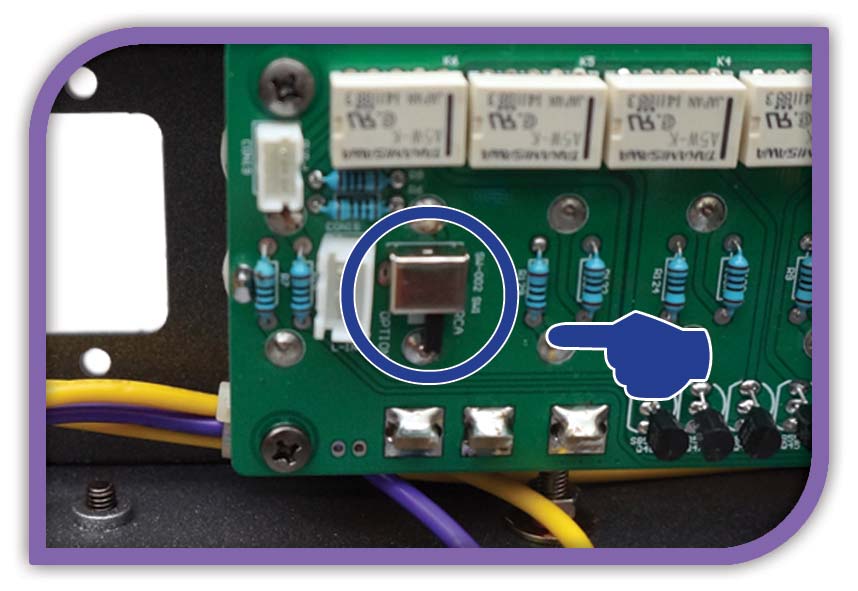
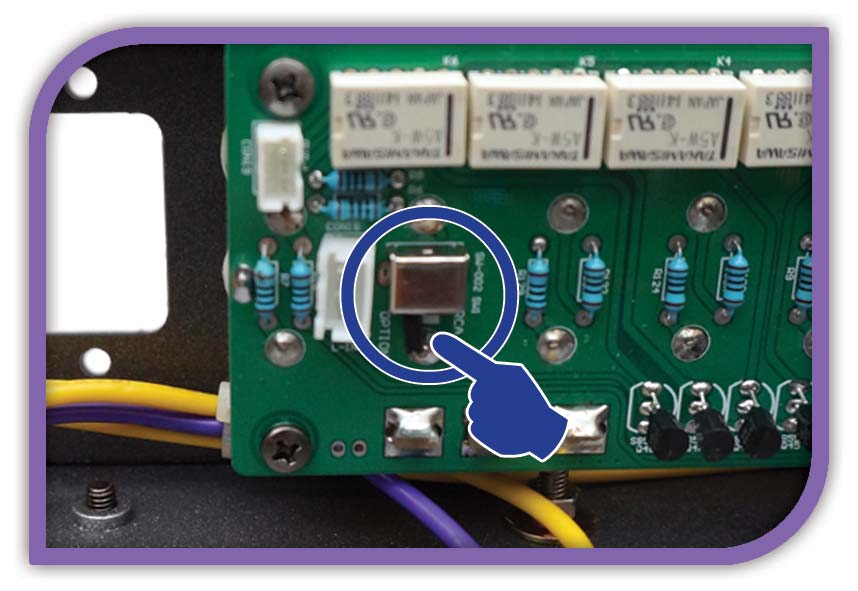
BEFORE AFTER
About l’EX322: Move the cursor to the inside of the amplifier to activate the input of your new EX PHONO-3X card.
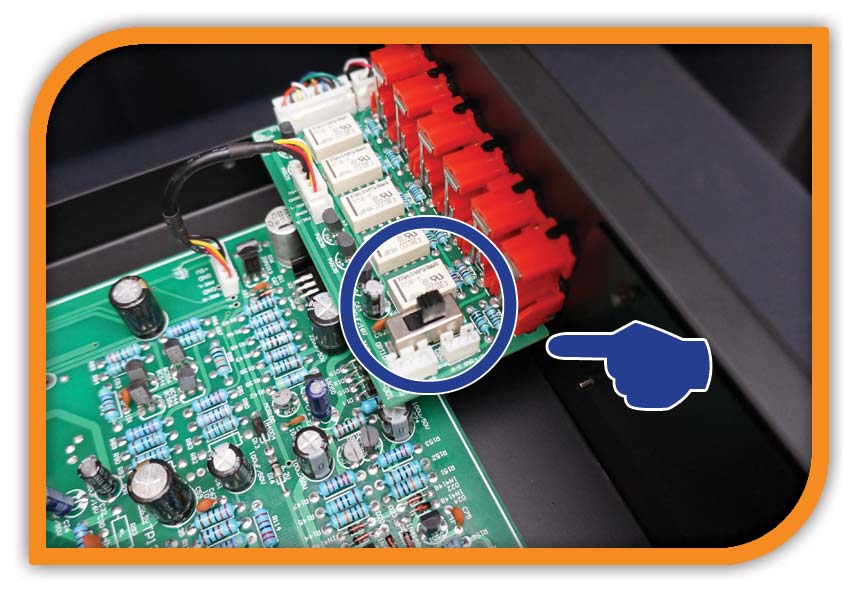
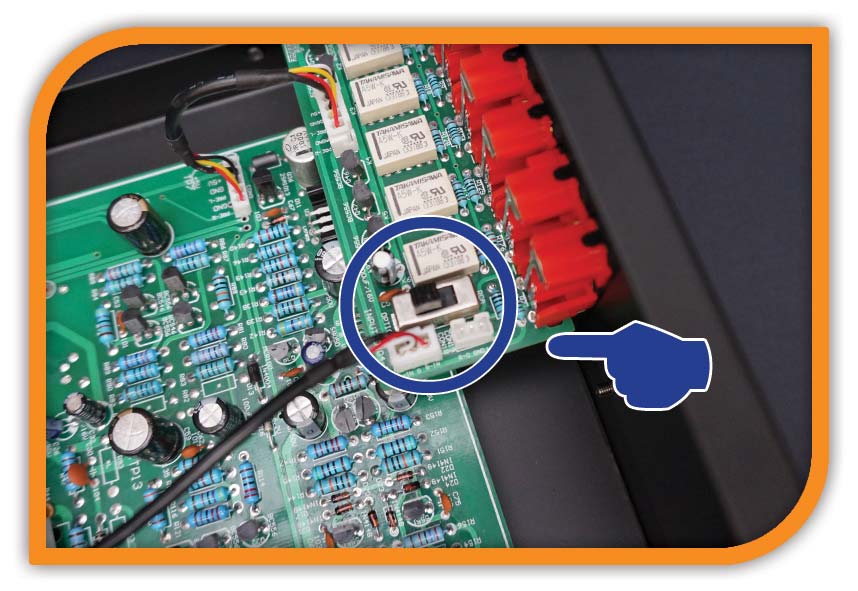
BEFORE AFTER
About l’EX332D: Move the cursor to the inside of the amplifier to activate the input of your new EX PHONO-3X card.
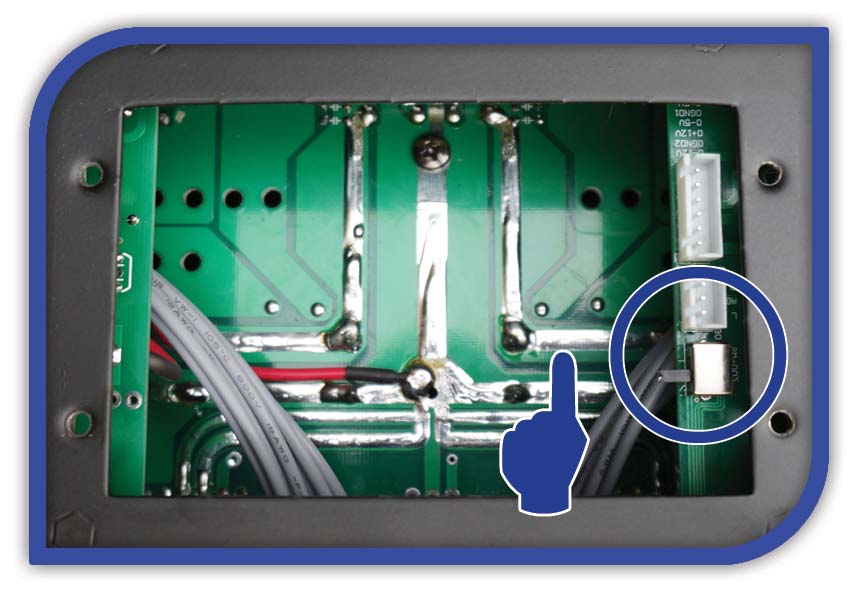
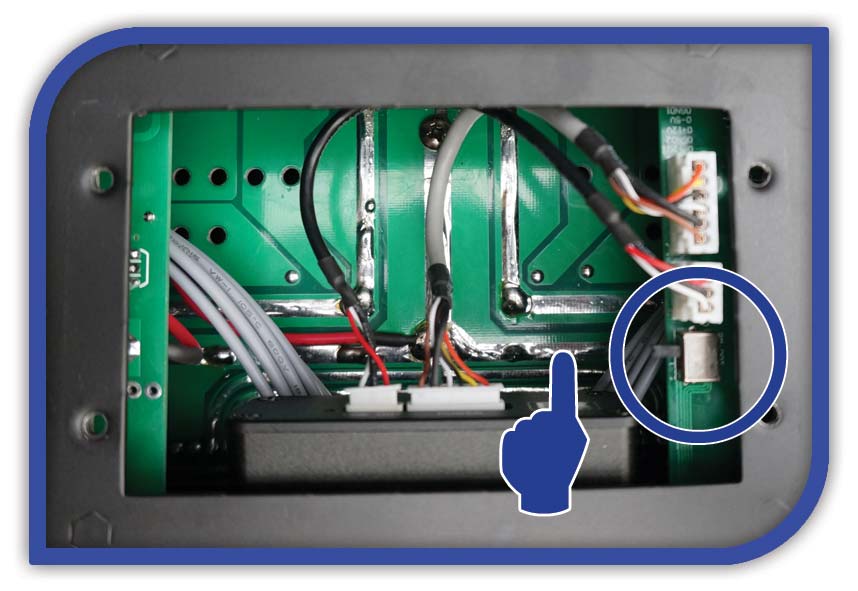
BEFORE AFTER
2 Preparation of the card according to your type of amplifier of the Serie EX
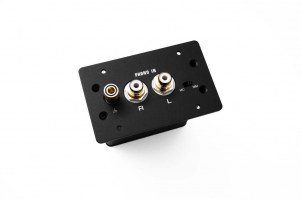
The EX PHONO-3X card comes with 2 metal plates and 4 screws (which are already on the front of the card itself.) Depending on your amplifier you will select one of these 2 plates and using the 4 screws you will fix the latter on the EX PHONO-3X card.
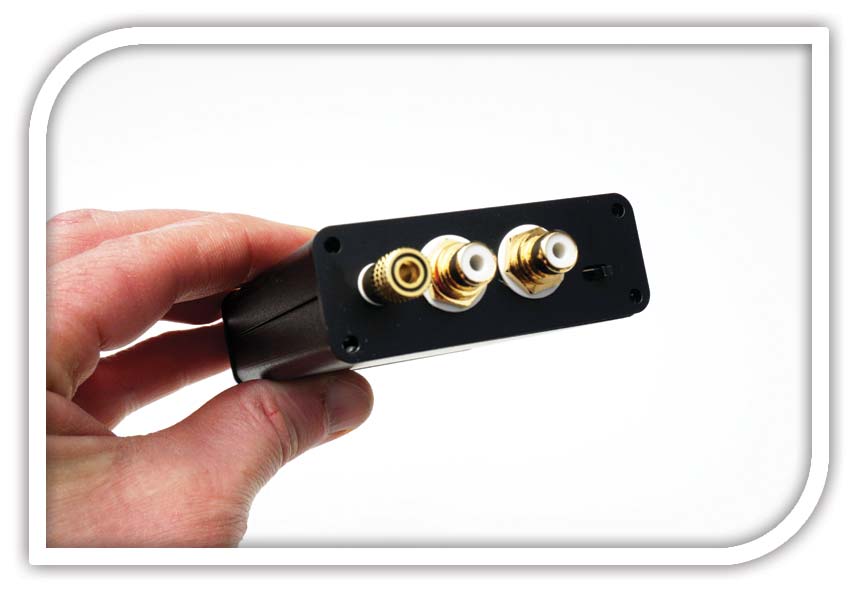
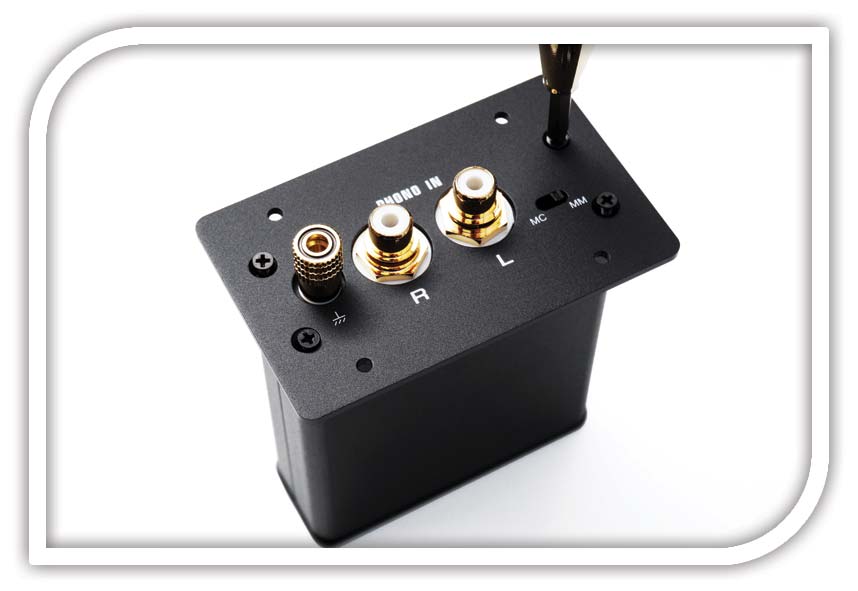
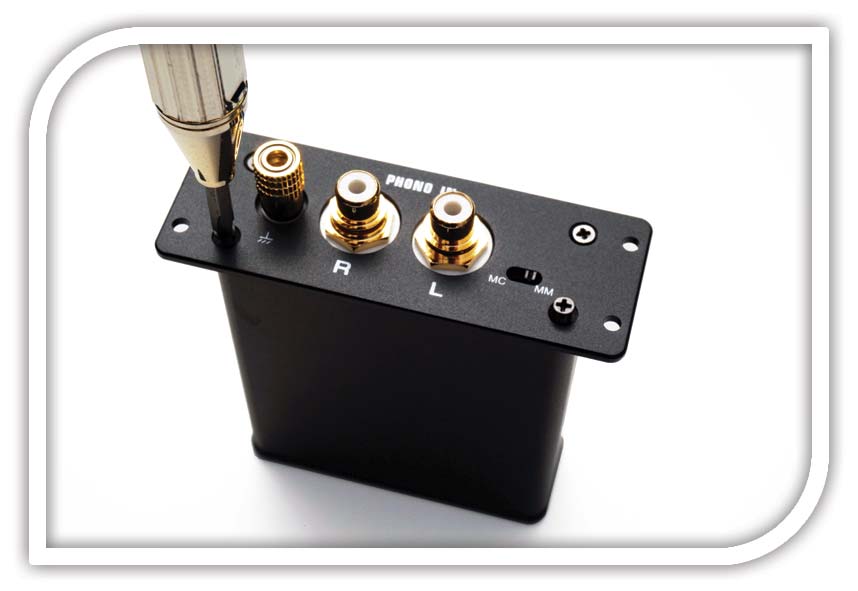
Phono Card (without front plate) With large plate for EX322/888 types With small plate for EX332D type
Use the "large" plate for EX322/EX322D/EX888 amplifiers family.
Use the "small" plate for EX332D amplifiers family.
3 Installing the card & connections
3.3.1 Secure the card EX-3X PHONO on the amplifier
About EX322: Position the EX PHONO-3X card from the inside of the amplifier and place it so that the 4 holes corresponding to the 4 Phillips screws are properly seated in front.
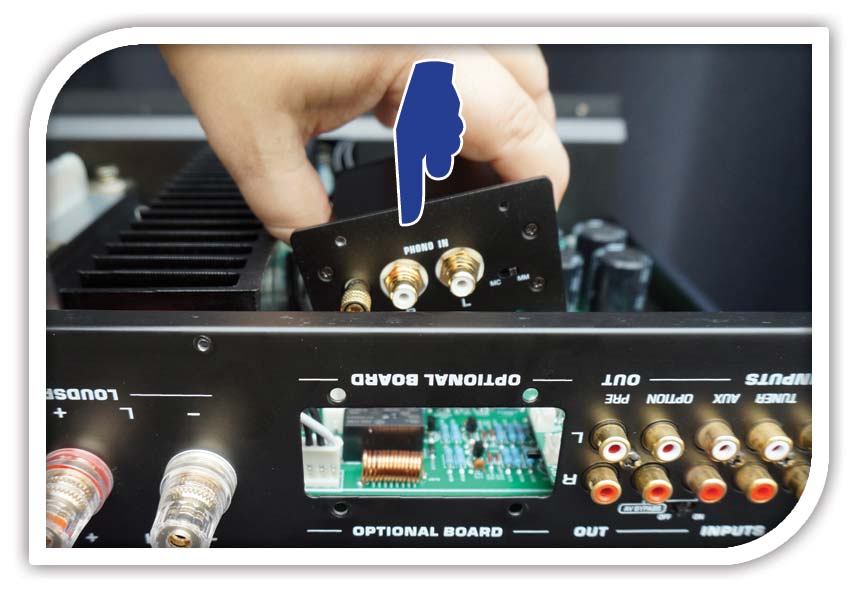
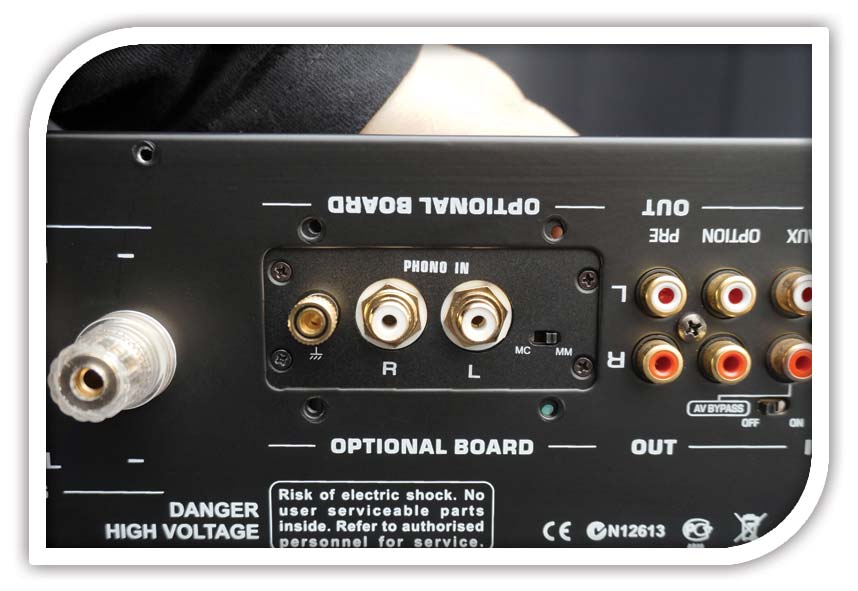
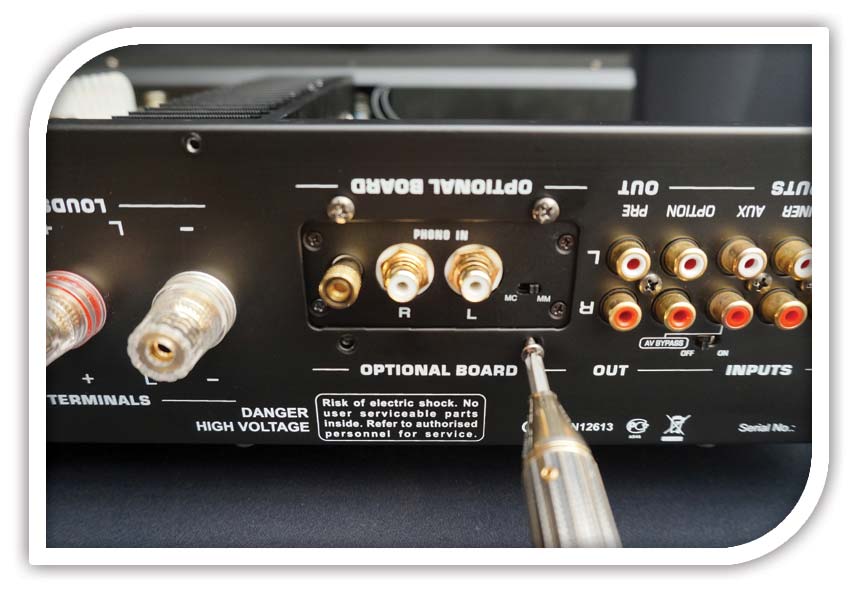
About EX332D: Once the small plate is screwed onto the EX PHONO-3X board, connect both the 6-pin MOLEX cables (SHORT) and the 3-pin LINE OUT cable.

